Wednesday, June 4, 2014

KINKY (Senegalese) TWIST | Braided Headband

If you have followed my blog (Thank you!) you have noticed that my hair is in it's natural state. With the weather getting warmer, and me growing bored with my hair, I decided to put Kinky (Senegalese) Twist in. Yeah! I love them. They are so easy and appropriate for every occasion. With that said, I thought it would be a great idea to share all the hairstyle I come up with while I have my hair twisted. This hairstyle can be created on any type of hair and it's the look I created for my blog post on Monday. (Click HERE to read more) I hope you enjoy. Remember to have fun with your style and stay beautiful!!

1. Begin with your hair down
2. Section off the front portion (This works on both sides)
3. Braid this section across the front portion of your head
4. Secure it with bobby pins
5/6 Use an old toothbrush and gel to lay down those edges (optional)
7. Whah-lah, You're done!


Monday, June 2, 2014

DIY Crop Top | McCall 6288

Now that the weather is warmer, I am extremely excited about the easy breezy comfortable looks for the spring and summer season. I live for comfort!! There is nothing like being able to crack out a cartwheel in your outfit and look like you’re ready for a date night at the same time.


The midi skirt/crop top trend is a look I have been eyeballing before the weather EVEN thought about getting warm. I have been in love with the crop top since I saw Lisa, from Coming to America, rock a stripe pattern one at the McDowell Christmas Party. How many people remember THAT!!? (I know…I’m dating myself, Right!?!)


This crop top was the perfect touch to keep this border lined dated midi skirt look fresh and on trend. This skirt was found at the Thrift Store for a few bucks. Whoohoo!  The bright neutral fabric color is so easy breezy and has topped my thrift store finds as my MOST fab because it is perfect look and size. I didn’t have to alter anything.

Last but not least, the razor back shirt was created using McCall 6288 (Click HERE). The pattern was designed for a dress but I chose to use it as a crop top for now. Under normal conditions I would NOT recommend sewing such an inexpensive top but I am always trying to improve my sewing skills. The pattern was super easy and I look forward using this one for a lot of effortless/comfortable looks. It’s a great staple pattern to use for all seasons. 


Barry the butterfly decided to do a cameo in my blog. I felt like snow white without the seven dwarfs. 


Remember to have fun with your style and stay beautiful!!


Wednesday, May 28, 2014

DRAB TO FAB | DIY Kimono Cardigan

Here in the Mid-West we have noticed a huge change in temperature. THANK YOU JESUS!! The weather is nice and warm outside and the sun is shinning bright. With that said, most places have thier air conditioners blowing about 70 degrees. Optimal operating temperature for me is about 81.5 degrees..LOL. Instead of dealing with the slight chill indoors, I like to grab a cardigan. I call it my daytime BLAAaannkkKEE!! I love being warm and cozy. Without fail, I usually have a cardigan in arms reach.


I was inspired to create this Kimono Cardigan after scrolling through Pinterest.  Pinterest is a one stop shop to find all types of  things you are "INTERESTED" in and people "PIN" them from different sites. PINTEREST...what a clever name. The cardigan was SUPER easy and quick! The DIY only require you to cut 5 pieces based off your personal measurements and it only takes about 1 hour to complete. Click HERE to find the steps. Insted of buying fabric, I decided to do a test run on this granny skirt I purchased at the thrift store for $2. Your options are endless with this pattern. Depending on where you live, you could wear this style cardigan year round as long as you select the correct fabric for the season. 

Nevertheless, Have fun with your style and stay beautiful!!


Sunday, April 27, 2014

BLOG HOP | A Relay for Bloggers


My lovely cousin Shayla at Angel Skirts (Click Here) has tagged me with a clever blog hop this week and I am so excited to join in on the fun. Believe it or not, this is my first collaboration with other bloggers. I know what you are thinking…I am working on it. LOL. A blog hop is like an internet relay. One blogger passes the baton/topic to to the next blogger and the Par-tay keeps going forever….or until we find another ingenious idea to connect with each other on the World Wide Web.

Without further ado, allow me to hop along and explain why I write. 

What am I working on?

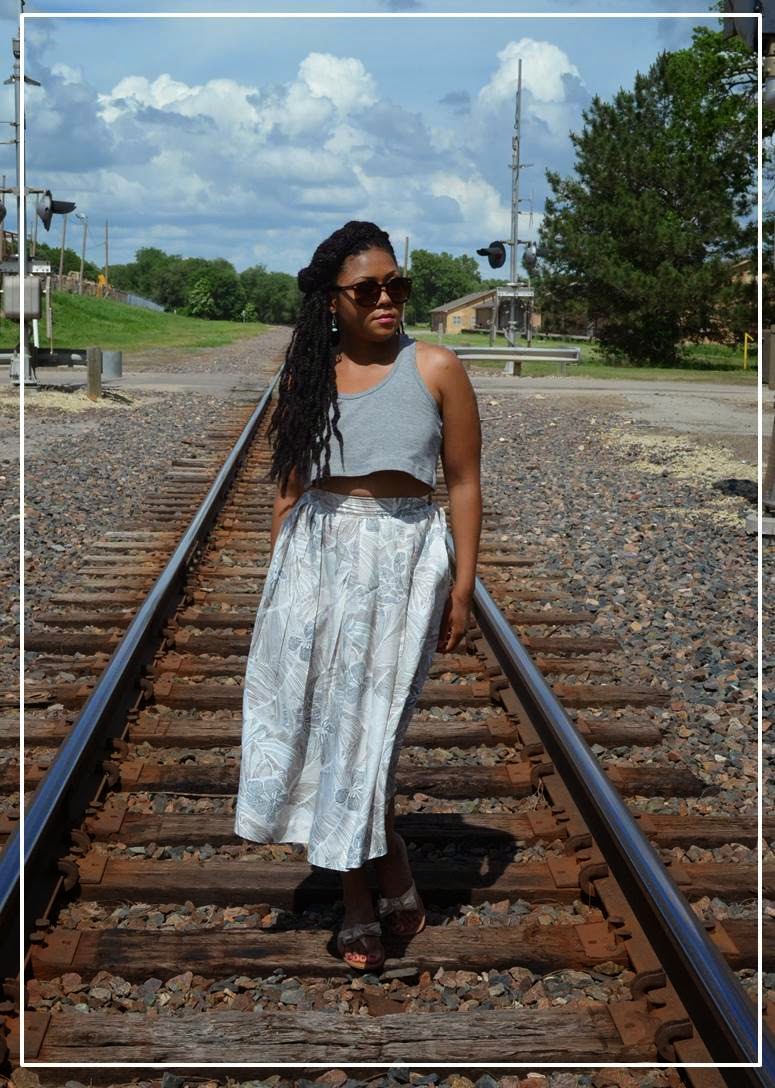
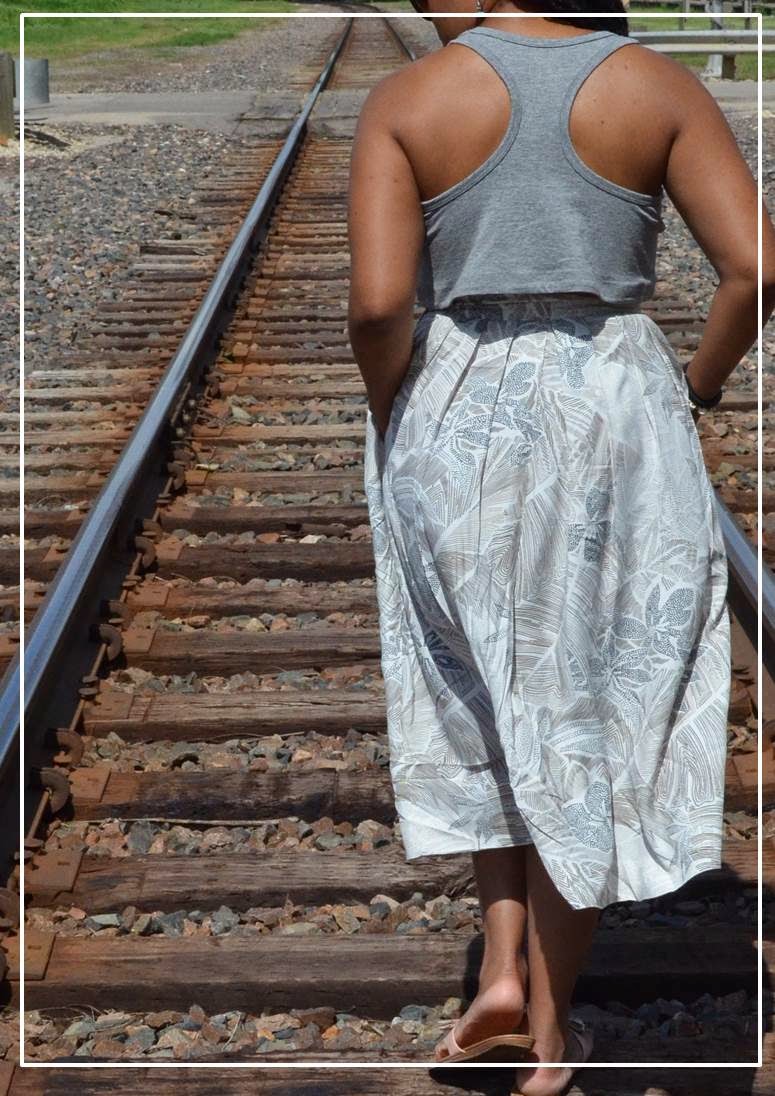
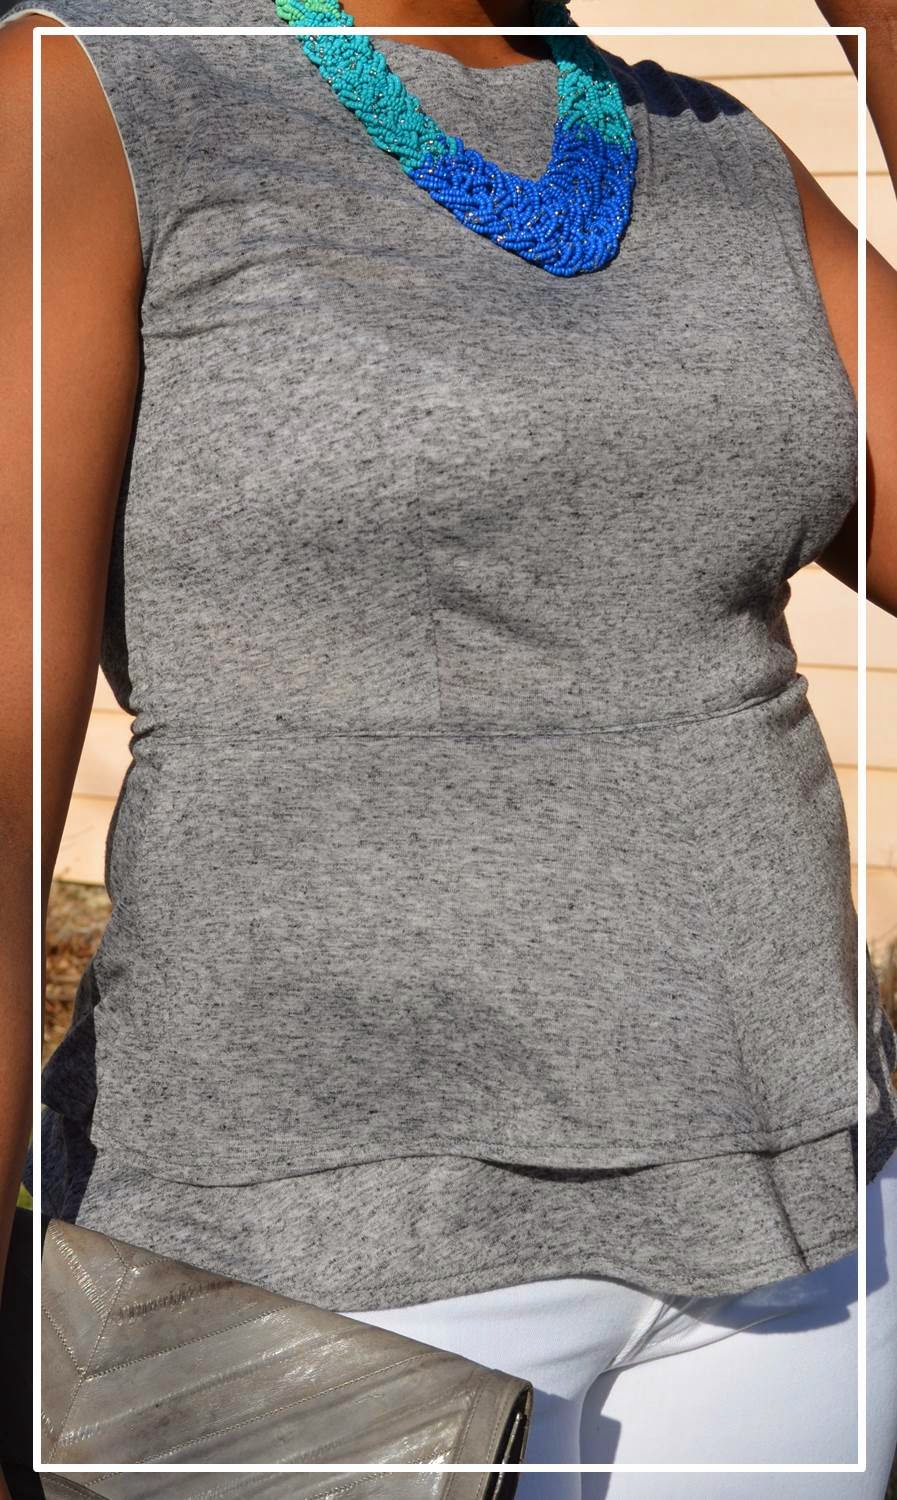
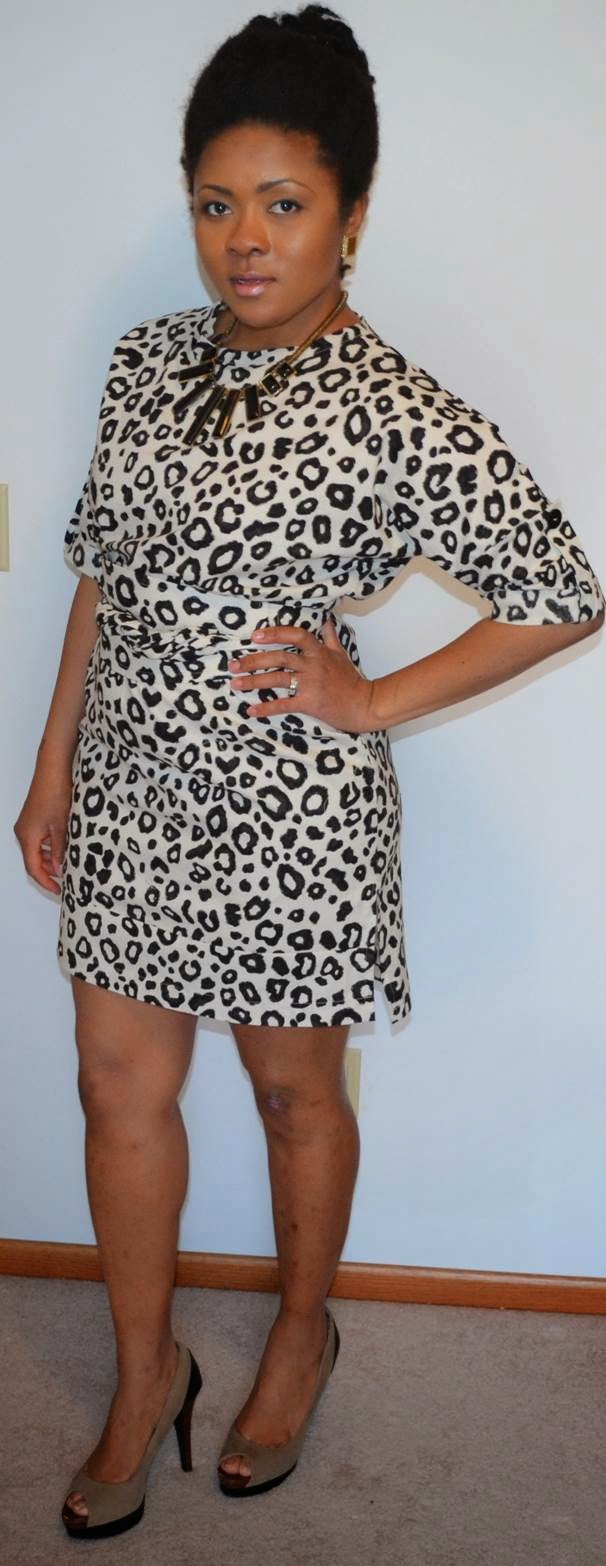
Most of the things you will find on my blog are DIYs and upcycling. All of the topics are focused on using my sewing hand.  I am currently working on bringing a little more variety to my blog page. I have come to the realization that I can achieve this with a with an organized schedule and format.  No matter what I blog about, I always want to show the steps I took to create my masterpiece. I feel this could potentially inspire other to create the same thing with their own spin at an affordable price.  

How does my work differ from others of its genre?

My take on an inspiration is what sets me apart from others. Every blogger is special for the same reason. We bring an attractive personal touch to everything we discuss on our blog. I guess blog posts are like fingerprints…you will never find one EXACTLY alike.

Why do I write what I do?

My blog was inspired with needing an outlet and a lack of resources. For the last decade I have lived in two small towns that lacked quality retail stores. Thrifting and Wal-Mart is all a SISTAH HAS! LOL. Instead of rolling up in a ball and sliding into a state of retail depression, I conformed to my environment and added a twist. I fell in love with bringing things to life and I felt the need to blog about it.  The purpose of my blog is to show people that retail is not the last resort….let’s not even talk about the markup on the items sold in stores. Most of all, I love blogging and I write because it’s my joy!

How does my writing process work?

It usually starts with a glass of Barefoot Moscato and some comfortable pajamas after the kids are down for the count. I have come to the realization that I am no longer living in my world from the hours of 7am to 8pm. It is all about the kids. I guess my blogging process is about getting in where you fit in. This means I constantly use the notepad on my iPad to jot down quick ideas or rip pages out of magazines of things I am inspired by. Once my babies are sleep, I bring my ideas to life. Sometimes I wake up early to get some work done as well. It’s all about finding free time. Remember…this is my outlet and I live to create.

Thank you Shayla for including me on this blog hop! For the next week, I would like to pass the baton on to ANYONE who has a blog and would like to keep this Blog Hippity HOP Par-Tay going. Remember to answer the four questions I addressed in this blog. E-mail me at endlesschicstyle@gmail.com if you decide to join in the festivities or send me a message on my Facebook Page (Click Here). Hop along and have fun. 

STAY BEAUTIFUL!!

Tuesday, April 15, 2014

Treadmill Workout | Shaking it up

Working out is a part of my lifestyle and I am very happy to share today's post. I'm not really sure why it took me SO long to make note of it on my blog. Nevertheless, I am HERE...and ready to write about my FABuLouS workout!

My energy level has a lot to do with my workouts. Believe it or not, I am dragging on the days I don't get my blood pumping. So today I am off to a good start with burning up 500+ calories. Working out on a treadmill can become boring an mundane at times so I was excited when I found  this great workout on Pinterest. Let me tell YOU!! This workout REALLY shook things up. If you don't have a treadmill, you can still take this workout to an outdoor or indoor track with a stop watch. I PROMISE...you will get the same results. Nothing has to be perfect. JUST MOVE!! Let's get to it.


CLICK HERE to get the same workout I completed. If done properly, you will exceed the 500 calories goal. The instructions recommends you to complete 5 sets but I only completed 4 and I met the 500 calorie goal. This workout is broken down into 10 minute intervals and it's easy to remember. Instead of doing a warm-up, I hopped right in with a 4mph walk for 5 minutes. After the first set was complete, I was ready to get it turned up ALL the way. The sweat was dripping and bacon fat was burning. Let's just say this workout is a keeper.


As you can see, I was able to burn up 532 calories in a matter of 42 minutes. This is less than one episode of Scandal.

I finished the workout with a few situps and pushup.....I am saving some for tomorrow's workout. I will focus more on strength training and less on cardio. Mixing it up is a great way to stay motivated.


I workout at home so I sometimes use the table to keep my feet grounded during situps. Sometimes you got to use what you have to get what you want...LOL. That line was in a movie...Can you guess which one?


Always have fun and embrace a health lifestyle! It does a body good.


Thursday, April 10, 2014

DRAB TO FAB | Dress Refashion


This  Moo Moo was found at a thrift store for $2 and I fell in love with the pretty purple fabric and floral print. When I saw the dress, I knew I could update the look. I came up with a plan and I got to chopping. Listed below are the steps I took to create my FAB look. Remember to have fun with your style and stay beautiful!!

Tip #1: Look in your local thrift store for any over sized/shapeless dresses made with a great print. You can always make it your own!

Tip #2: A great way to learn how to sew and get use to your machine is to practice on inexpensive items you find at the thrift store. 

The top was made using a t-shirt pattern and I added added tabs for sleeves.  The neckline was created by using an interfacing to keep it nice and neat.


Tuesday, April 8, 2014

DIY Peplum Top | Vogue Pattern 8815

The weather in Kansas has finally eased up enough to actually take a decent photo outside. Yeah!! I was SO excited to see the weather reach a scorching 63 degrees for mid-day. I am a Southern Bell and I'm still trying to adjust. LOL. Am I complaining?.....Time to actually talk about the top and not the weather. 


This peplum top was sewn about a week ago with 1 yard of grey fabric I absolutely love. Without a doubt I knew I had to pick the perfect pattern because the fabric is such a nice neutral color. Let's just say this top will be worn ALOT. Day, Night, and weekend. You know me....I love FUNCTIONALITY!!


I can't rave enough about this style top because it is perfect for every single figure. The waist hits in the perfect spot and it flares out in the right areas. Especially if you are trying to hide a food baby. Most of all, a kangaroo pouch from previous babies you may have had like myself.


This brings me to my next point. These photos made me realize that the winter has been too long and I have been doing a lot of shaming in the exercise department. The time has come for me to get on my J-O-B! Photos don't lie and it's time to set some goals before the weather really gets warm. I guess Kansas has givin me an opportunity to put the snacks down and get on the treadmill.

Without further ado....the pattern review is listed below.

Pattern
V8815

Fabric
Stretch Knit Fabric. Click HERE to find similar fabric.

Sewing Time
1 hr

Did the pattern match the results?
Yes

Difficulty of Pattern
Easy

Likes/Dislikes
The fabric is awesome. It's a stylish look that's easy to sew.

Alterations
I added a double peplum. Instead of cutting one peplum I cut two and reduced the top peplum by 2 inches to show separation. 

Would I sew it again?
Absolutely!

Have fun with your style and stay beautiful!!

Sew Wild | Vogue Pattern 8913

Have you ever made a mistake on something and it turned in to a masterpiece?....me either.. Just kidding. Today's post was designed to be a loose fitting blouse like the lady standing beside me in the picture. As a result, it developed into a form fitted dress. LOVE IT. Not only is it in animal print, but it's on the short side as well. I made a belt (coming up in a future blog) to cinch in my waist to accentuate (..love that word) my figure. You are not able to see it because I made it out of the same material as the dress. Tip: A great way to show off your curves is to add a belt to your natural waist line. It works even better if you can find one in the same color as the garment. This causes less distraction to the eye and it makes you look taller and slimmer. This is coming from the QUEEN of wanting to look thin. With ALL of that said, the pattern review is listed below. Remember to have fun with your style and stay beautiful!!


Pattern
8913

Fabric
Dress - Broadcloth - Wal-Mart
Liner - Crepe - Wal-Mart
(Sorry I don't have links but the fabric store clerks would be happy to assist if you ask for the two type fabrics.)

Sewing Time
I sewed 30 minutes each night when I had free time. It took me 5 days to complete.
For YOU- about 1 hr. LOL

Did the pattern match the results?
No. It was suppose to be a shirt.

LESSON LEARNED - Follow the Finished Garment measurements for a loose shirt. If you want form fitted dress...measure yourself and make necessary adjustments.


Difficulty of Pattern
Easy

Likes/Dislikes
Great pattern

Alterations
I added a liner to the dress, added a rolled cuff to the sleeves, and made a belt to cinch in my waist.

Would I sew it again?
Maybe

STAY BEAUTIFUL!!!!! See you in the next blog post.

Friday, March 21, 2014

DIY | Skater Skirt

It's the first day of Spring and I am so excited to say goodbye to Old Man Winter. He has hung around for far TOO long...at least it seems that way in the Mid-West. ANywhO! I thought it would be a great idea to start off my Spring blog with a fun and flirtatious skater skirt. It is also known as a circle skirt. As always I get my inspirations from magazines, the internet, and my dreams..LOL. Yes! I dream about all type of projects. Crazy right..LOL. Well today's DIY was inspired by an amazing seamstress and blogger on the internet named Mimi G. Click here to find her blog. Her tutorials on Youtube are so easy to follow and very inspiring. Click here to find the tutorial to make the skater/circle skirt I have on in the photo. You will not be disappointed. Remember to have fun with your style and stay beautiful!

Tuesday, March 18, 2014

V8805 | Shift Dress DIY

I am a sucker for flexible style and I love pieces I can use to recreate multiple looks. Several options reduce the amount of headaches I have when it's time to pick something out to wear. It took me a while to get to this point. I was notorious for shopping in the moment. I would lean more toward things that were trendy and less toward classic items. I learned very quickly that my closet really didn't have those go to pieces. It lacked substance. Now that I am older and slightly wiser, I find myself flocking toward items that will give me longevity.....which leads me into my blog topic. The wonderful SHIFT DRESS! awwhhhhhh. LOvE iT!! This dress is so RIGHT for ALL the RIGHT reasons. This dress is great for most figures.  I am a girl with jumbo hips and I love when I can play up my legs and chest to balance out my BaDONKaDonk. (This word is not in Webster.)When I came across this pattern, I knew I would love everything about it. Just like the DIY Joggers (click here) I blogged about, the shift dress is an item you can wear anywhere with a only a little imagination. Listed below are the details on the pattern. Have fun with your style and stay beautiful.


Pattern
V8805

Fabric
Ponte Knit click here (Any of these colors will work well). For summer you could choose a beautiful linen or crepe type fabric to have a nice drape and cool feel. The Ponte fabric is more for milder climates.

Sewing Time
2 hr project

Did the pattern match the results?
Yes

Difficulty of Pattern
Easy

Likes/Dislikes
The pattern came together quickly without any hiccups. This dress is simple and classic. It is all about the fabric you choose.

Alterations
I altered the length. I wanted a little more leg to show so I hemmed the dress a little higher than prescribed. Shift dresses are great for showing off a little leg when everything else is covered. Have fun..right?

Would I sew it again? Yes...and YES!

Monday, March 17, 2014

V8909 | Jogger Chic

It's been a moment since I've blogged about anything. That doesn't mean I haven't been trying to find the time to discuss my completed projects. Sometimes you just got to GO FOR IT! LOL. I am still dealing with the cold weather in Kansas but I have officially stopped sewing any type of winter items. I am SO ready for Spring and Summer. With that said, the first item out the gate are these lovely Joggers. You can truly wear these pants for any occasion. I can jazz them up with a pair of heels and a nice shirt, or I can go casual with a pair of flats and a t-shirt. These pants are great for those days when you want to be comfortable and look fabulous at the same time. I am all about endless options. Listed below are the details on what I used to create the look. Take care and stay beautiful!!


Pattern
V8909

Fabric
Ponte Knit click here (Any of these colors will work well)

Sewing Time
2 hr project

Did the pattern match the results?
Yes

Difficulty of Pattern
Easy

Likes/Dislikes
The pants came out the way the pattern promised. I don't like the elastic band because it adds to much bunching in mid section. I will adjust the pattern in future project by adding a fitted waistband and a side zipper to give a sleeker appearance.

Alterations
I am 5'5 and I had to adjust the length but cutting of a little at the bottom. Make sure you measure yourself and necessary adjustments.

Would I sew it again?
I want them in ALL colors...LOL. Great pattern!

Monday, February 3, 2014

M6844 | Peplum Cardigan

I am SUPER excited about this sewing creation!!!! When I first saw the pattern I was slightly intimidated about trying it out. Contrary to popular belief, when a patterns says "Easy", it doesn't always mean "EASY"...LOL Any who! To minimize the anxiety of wasting money, I used inexpensive fabric. I was able to finish with only a few stumbles and the results came out flawless.....as long as you don't look at the finished edges on the inside. Who ever is reading this, thank YOU for taking the time and I hope it has inspired you to challenge your sewing hand. The pattern review is listed below. Have fun with your style and stay beautiful!!


Pattern
McCall 6844

Fabric
Stretch Knit --- I recommend using a Double Knit / Medium Weight Fabric.

Sewing Time
FOREVER..just kidding. Approximately 2 hours for Novice people like myself. LOL!

Did the pattern match the results?
Yes

Difficulty of Pattern
The pattern was challenging for me. Keep in mind I have only been sewing for a short while.

Likes/Dislikes
Everything about this cardigan is fantastic! I have a passion for the peplum.

Alterations
None

Would I sew it again?
Yes


Friday, January 3, 2014

McCall's 6827 Pattern Review

Happy New Year!! My first blog post for 2014 had to start with my Diva! I was so happy to make this cute outfit for her and she was equally pleased and ready to take some photos...(don't know where she get's that from) LOL!!  These type of patterns are SUPER simple and very functional for the classroom, playground, and weekend fun. Most of all, it's CUTE and COMFORTABLE. 

Pattern:
McCall's M6827  Click Here

Fabric Used: 
Jersey Blend Stretch Knit Fabric | Girl Charlee Click Here
Pattern Sizing: 
Size 7
Time to Finish
2 hrs Max!

Did the pattern match the results?
Yes. 
Difficulty of Pattern
The pattern was super easy. Style Remix B/C/E. I chose style B and added the pocket from style C.

Likes/Dislikes
I love the high-low cut of the pattern and you can never have TOO many leggings. 


Pattern alterations or any design changes you made: 
With every pattern I come across a new discovery. On the back of patterns...usually...you will see a size chart and a finished garment chart. Both are valuable information. With that said, I prefer to use the finished garment chart because it gives you a realistic selection when trying to determine the size you need to cut. If you can't find the information on the back, you can also find it on the actual pattern. Have fun and stay beautiful!!

Would you sew it again? Yes


Monday, December 30, 2013

DIY | Pattern Weights

I was motivated to complete this DIY project after growing tired of using pins to keep my pattern pieces in place. Pattern pieces are extremely light and can blow away with the slightest hint of wind. Instead of making my patterns holy...get it...Holy! LOL. Okay..I will keep my day job. I have decided to create some "chic" pattern weights with some left over fabric. Listed below are the step-by-step instructions on how to create these chic/useful sewing tools.


Step 1: Cut your fabric into 4"x4" pieces...or you could use the pre-cut quilting pieces. Place right sides together, sew around three of the four sides.


Step 2: Snip corners. This will help when it's time to push the corners out.


Step 3: Turn your squares inside out, press with iron, and fill half way with beans or rice...your choice!!


Step 4: Use a bonding strip, needle/thread, or glue gun to seal off your pattern weights.


Step 5: (Optional) Accessorize your pattern weights with your choice of ornament.


Can you guess one of my future project? lol. Remember to have fun with your style and stay beautiful!!

Happy New Year!! 
See you 
in 
2014!!